Quickstart guide
1. Connect a processor
Choose and connect your preferred payment provider in just a few clicks.
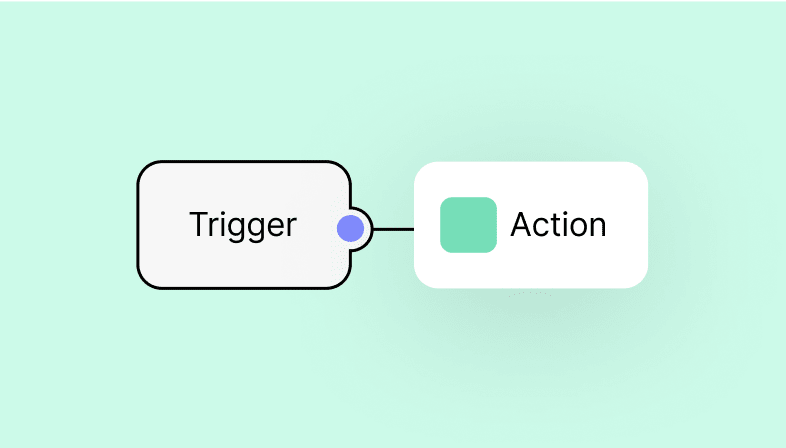
2. Create a workflow
Build automation to route payments, handle errors, and trigger downstream actions.
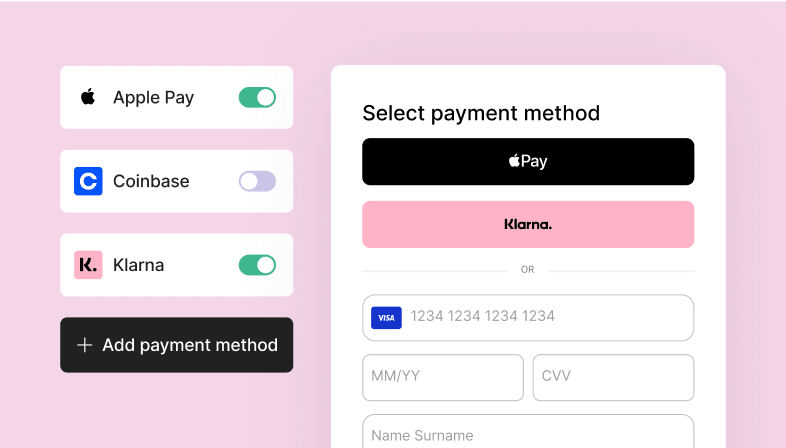
3. Set up universal checkout
Customize and launch a flexible checkout that works across devices and regions.
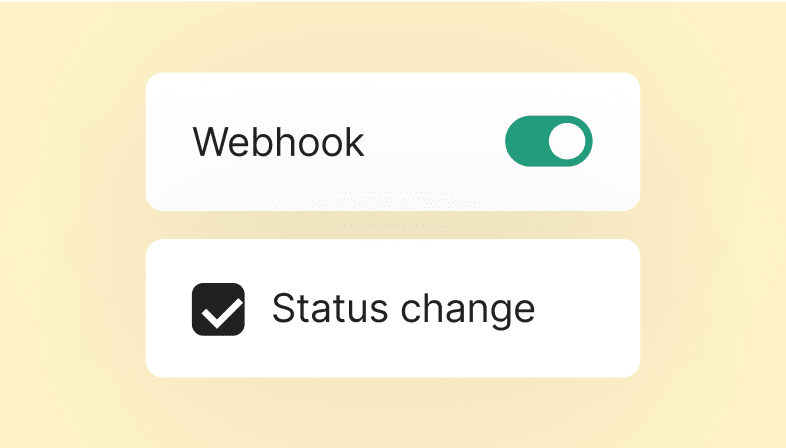
4. Set up payment updates
Keep your systems in sync with real-time status updates via workflows or webhooks.
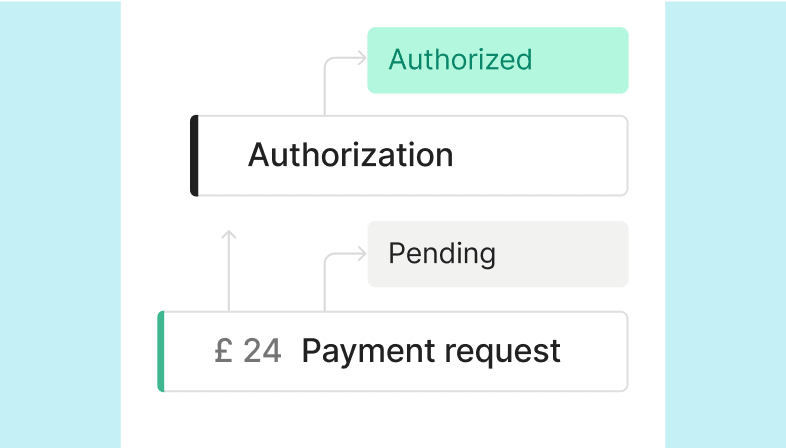
5. Explore your payments
Get full visibility into the journey of each payment, so you can easily see what’s going on.

6. Recurring payments
Manage your recurring payments seamlessly with our Payments API.