What you can do
- Accept any payment methods through a single integration
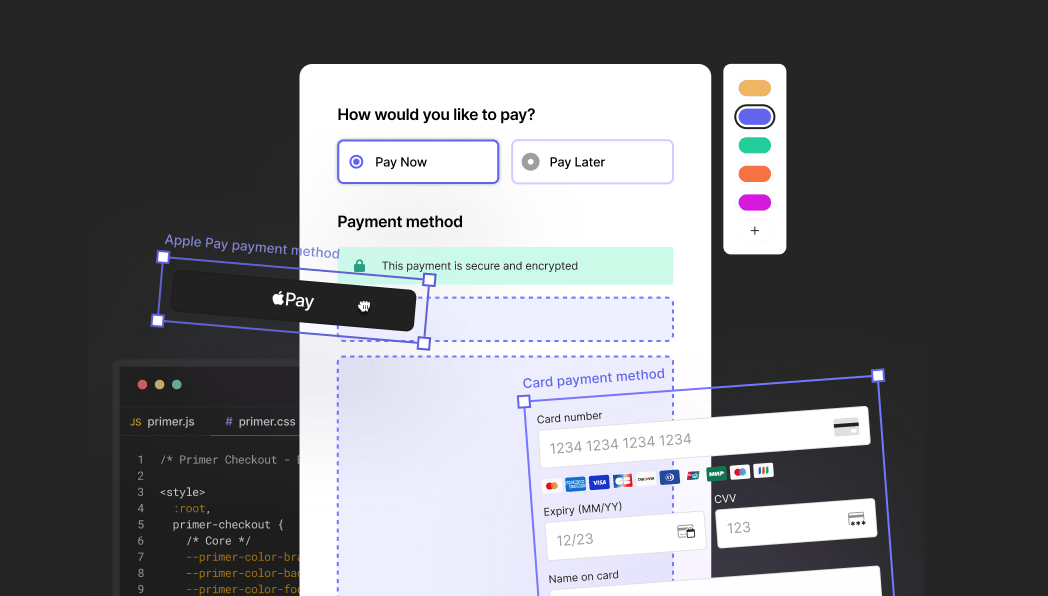
- Use a prebuilt, conversion-optimized UI or customize every component
- Handle security and compliance without extra work
- Add or remove payment methods without changing your frontend code
Key capabilities
| Capability | What It Means |
|---|---|
| Single integration | Add any payment method without writing payment-specific code |
| Prebuilt UI | Conversion-optimized components that work out of the box |
| Full customization | Control styling, layout, and behavior through configuration |
| Security built-in | PCI compliance handled for you with secure hosted inputs |
| Multi-platform | Web (any framework), Android (Jetpack Compose), iOS (SwiftUI) |
Design principles
Works out of the box
Drop in a checkout component and you have a working payment form. No configuration required for the default experience. Primer handles validation, error display, 3DS challenges, redirects, and loading states automatically.Customizable without complexity
Change the look and feel through styling tokens. Rearrange components with layout customization. Add event handlers when you need custom behavior. Each layer of customization is optional — use only what you need.Stable integration
Your integration interacts with a stable public API. Internal changes stay internal — your code won’t break when you update the SDK.Payment logic stays with Primer
You focus on the user experience. Primer handles the payment method logic, processor communication, and edge cases. Add new payment methods from the Dashboard without touching your frontend code.Platform availability
Primer Checkout is available on Web, iOS, and Android.- The Web SDK is production-ready.
- iOS and Android are currently in beta (v3.0.0-beta, as of March 2026) — reach out to your Primer contact before integrating.
- React Native is supported via the existing SDK. Support for the new Primer Checkout experience is planned for later in 2026.
How it works
- Install the Primer Checkout SDK for your platform
- Configure your checkout and payment methods
- Embed the checkout in your application and start accepting payments
Explore StackBlitz examples
The examples below are for the Web SDK. iOS and Android examples are available in the platform-specific docs. Try Primer Checkout directly in your browser with these interactive, editable examples:| Example | Description | |
|---|---|---|
| Basic checkout | Get started with a minimal checkout implementation using default styling |  |
| Custom form layout | Build a custom payment form layout with reordered components and custom styling | |
| Custom sectioned layout | Organize payment methods into sections (Card, Quick Checkout, Alternative Methods) | |
| Themed checkout | Explore different visual themes using CSS variables | |
| Vaulted payment methods | Save and reuse payment methods with Primer’s vaulting functionality | |
Prerequisites
Before you start, ensure you have completed these prerequisites:- You’re ready to process payments
- Checkout is configured in your Primer Dashboard
See also
Installation
Add Primer Checkout to your project
First Payment
Accept your first payment
Core Concepts
Understand how components work together
Customization
Match the checkout to your brand