Monitor your payments
Managing monitors
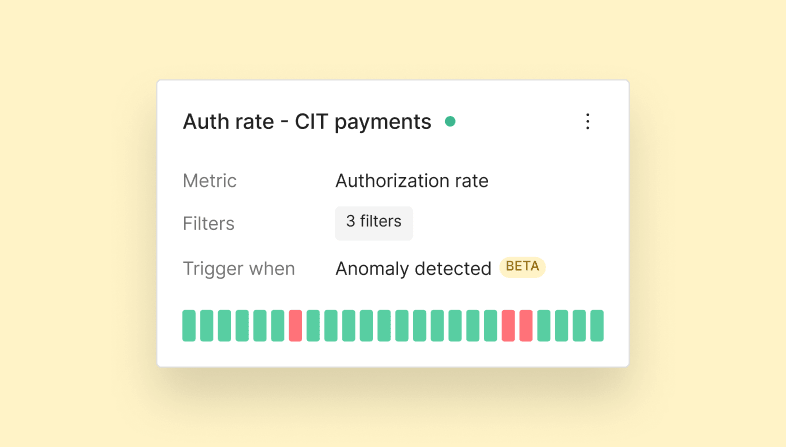
Create, edit, and manage monitors that track key metrics like auth rates, declines, and conversion drops using flexible filters and thresholds.
Monitor Notifications
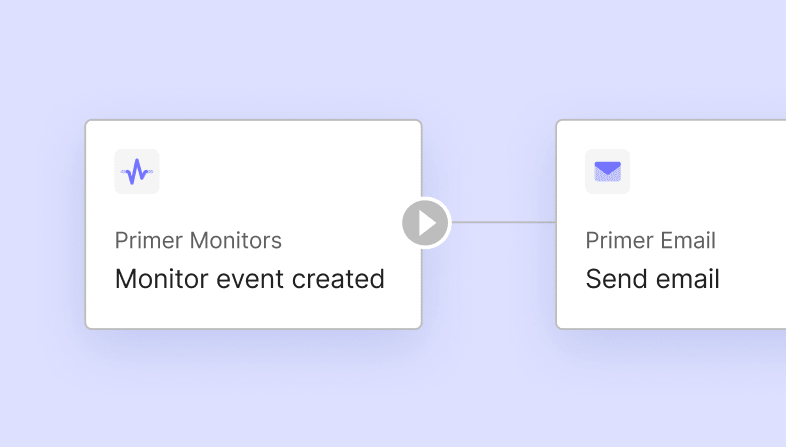
Trigger alerts via email, Slack, or workflows when a monitor condition is met so your team can take action quickly.
Use cases
Monitoring for processor outages
Get alerted when a processor’s performance drops so you can respond with rerouting or fallback strategies.
Monitor fallback usage
Track how often fallbacks are triggered to spot upstream issues and fine-tune your routing logic.