This guide will take you through the steps needed to begin processing payments via Primer.
What is a processor?
A payment processor facilitates electronic payments between merchants and customers. Payment processors provide a variety of services, including the ability to accept and process credit and debit card payments as well as enabling other types of payment methods.
Payment processors handle the technical aspects of processing payments, including communicating with the various financial networks and banks involved in the transaction.
Primer has integrated with many processors, including Stripe, Braintree, and Adyen. Through Primer, you can simply connect to any processor and begin routing payments to them based on your needs and requirements.
You need at least one processor connected to begin processing payments through Primer.
Simply set up the connection by following the steps below to enable Primer to communicate with the processor on your behalf:
- 1Select the processor you want to add via the Primer Dashboard
- 2Give Primer access to your processor account
- 3Choose which payment methods you wish to enable for the processor
1. Select the processor you want to add via the Primer Dashboard
Navigate to the Integrations section on the Primer Dashboard. You will see your existing connected processors and the ability to add a new integration via the ‘+ New integration’ button in the top right corner.
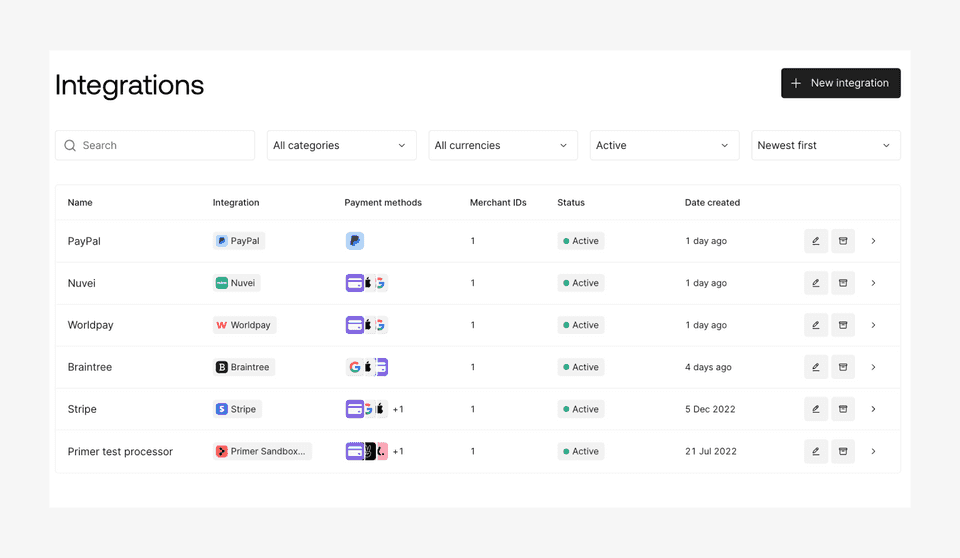
In Primer’s Sandbox, you will have the Primer test processor automatically configured so you can begin testing your integration straightaway!
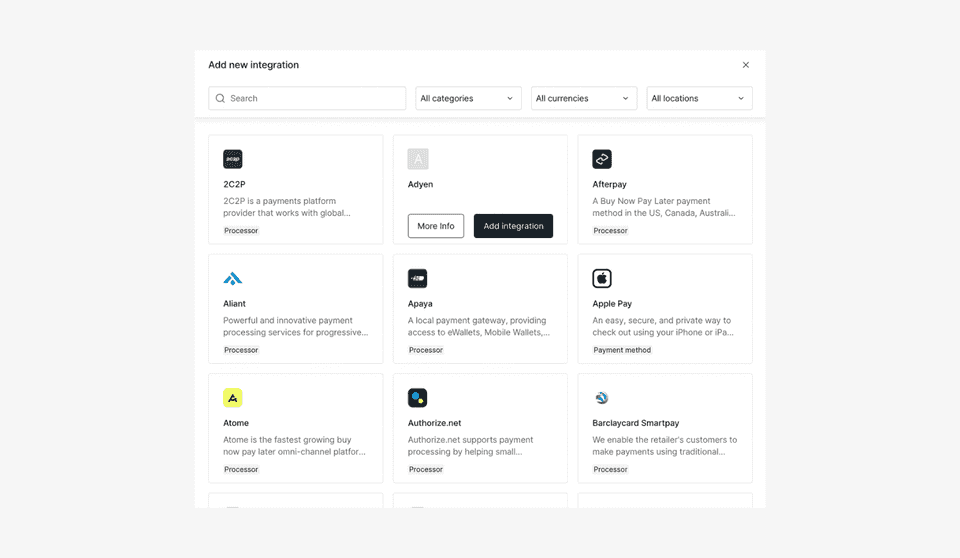
Once you select ‘+ New integration’, you can browse the available processors and find your processor of choice. Find more details about the processor by selecting ‘More Info’ and when you’re ready, continue to add the integration.
2. Give Primer access to your processor account
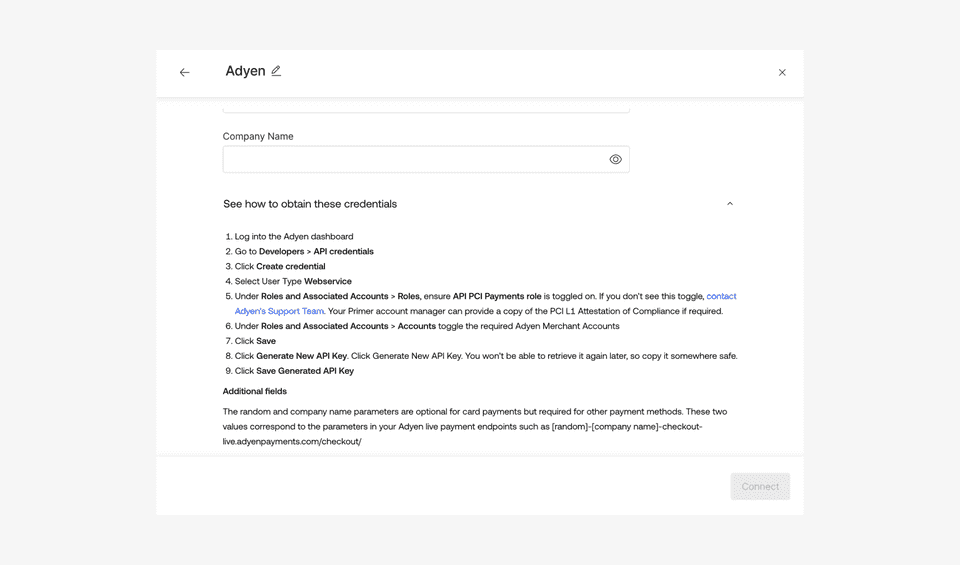
Depending on the processor, you will now either have to enter your account credentials or you will be redirected to the processor to log in and connect your account.
As this varies per processor, there are instructions on how to obtain the credentials, so it’s recommended to follow these.
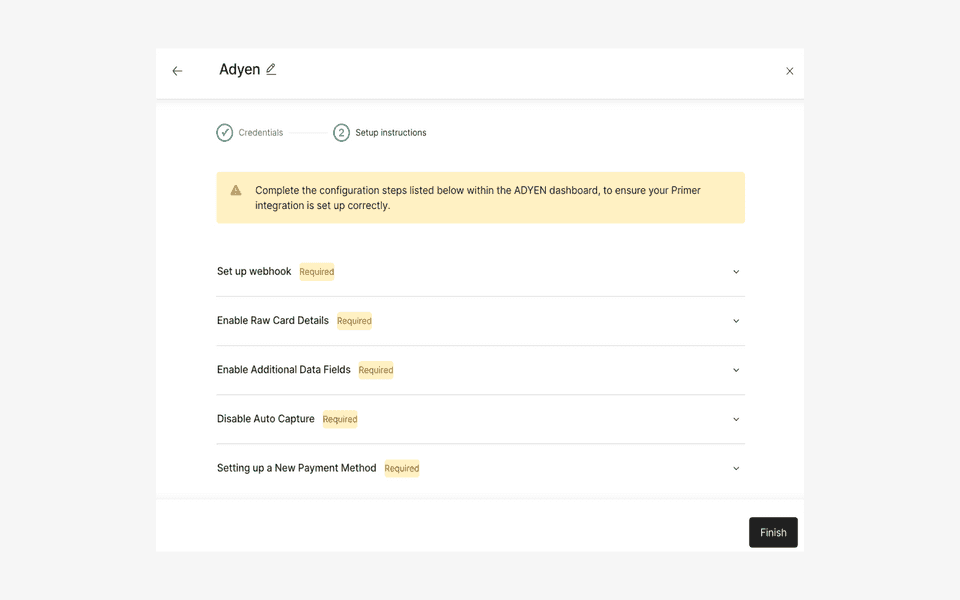
There may be some additional setup steps required based on the functionality you want and the way the processor works. These are also clearly presented and easy to follow.
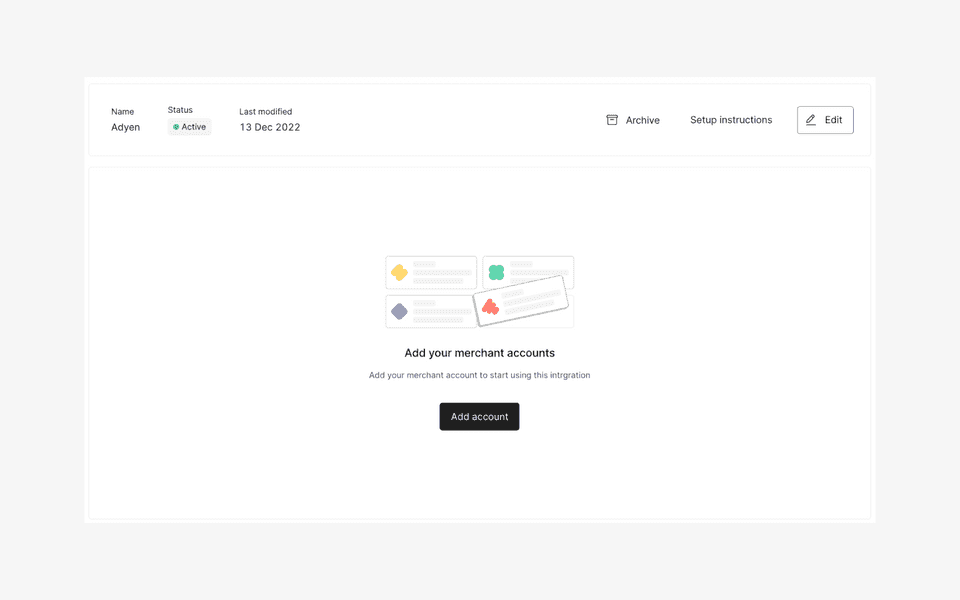
You will then need to add your merchant account(s) for the processor.
Depending on the processor, sometimes this step is done for you.
3. Choose which payment methods you wish to enable for the processor
Activate any non-card payment methods supported by the processor for each merchant account.
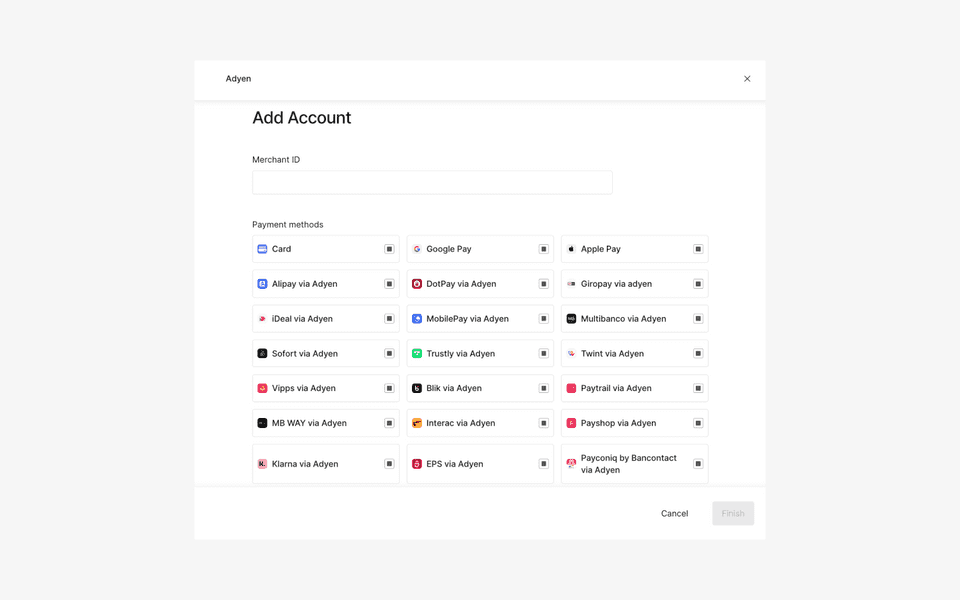
Once turned on, you can configure when these payment methods should be shown to your customer in the Checkout section of the Dashboard.