Before you begin
This guide assumes that you know how to:Accept payments with Apple Pay
Prepare the client session
Apple Pay leverages the following parameters to process a payment. Pass them when creating the client session.| Parameter Name | Required | Description |
|---|---|---|
| currencyCode | ✓ | 3-letter currency code in ISO 4217 format, e.g. USD for US dollars |
| order ↳ lineItems | ✓ | Details of the line items of the order |
| order ↳ countryCode | ✓ | The country in which the order is created |
| paymentMethod ↳ options ↳ APPLE_PAY ↳ merchantName | For payments using the Apple Pay payment method, use this field to override the default merchant name for the Primer account from showing on the Apple Pay flow. For example, if your merchant name on your account is “Company X” but you want to display a specific store name on the Apple Pay flow, you can set the merchantName to “Store name A”. | |
| paymentMethod ↳ options ↳ APPLE_PAY ↳ recurringPaymentRequest | Required for recurring payments. Include to specify that the payment is a recurring payment, typically for subscriptions. | |
| paymentMethod ↳ options ↳ APPLE_PAY ↳ deferredPaymentRequest | Required for deferred payments. Include to specify that payment will be charged at a future date, such as hotel bookings or pre-orders. | |
| paymentMethod ↳ options ↳ APPLE_PAY ↳ automaticReloadRequest | Required for automatic reload payments. Include to enable automatic top-ups when account balance falls below a threshold, such as transit cards or loyalty programs. |
Apple Pay MPAN Configuration
Apple Pay Merchant Tokens (MPANs) provide better payment continuity across devices compared to Device Primary Account Numbers (DPANs). Primer enables you to request MPANs from Apple Pay according to Apple’s guidelines, though Apple Pay may still return DPANs if the issuer doesn’t support MPAN generation. For stored payment methods (vaultOnSuccess: true):
Use the appropriate MPAN request configuration based on your payment use case.
firstPaymentReason | MPAN Request Type | Use Cases | Required |
|---|---|---|---|
Recurring | Recurring Payments | Subscriptions, memberships, scheduled billing | recurringPaymentRequest |
Unscheduled | Deferred Payments | Buy-now-pay-later, layaway, delayed billing | deferredPaymentRequest |
Unscheduled | Automatic Reload | Wallet top-ups, account reloads | automaticReloadRequest |
vaultOnSuccess: false):
- Standard Apple Pay flow is used
- No MPAN request configuration needed since tokens aren’t stored
Prepare the SDK for payments
- iOS
- React Native
Pre-requisites
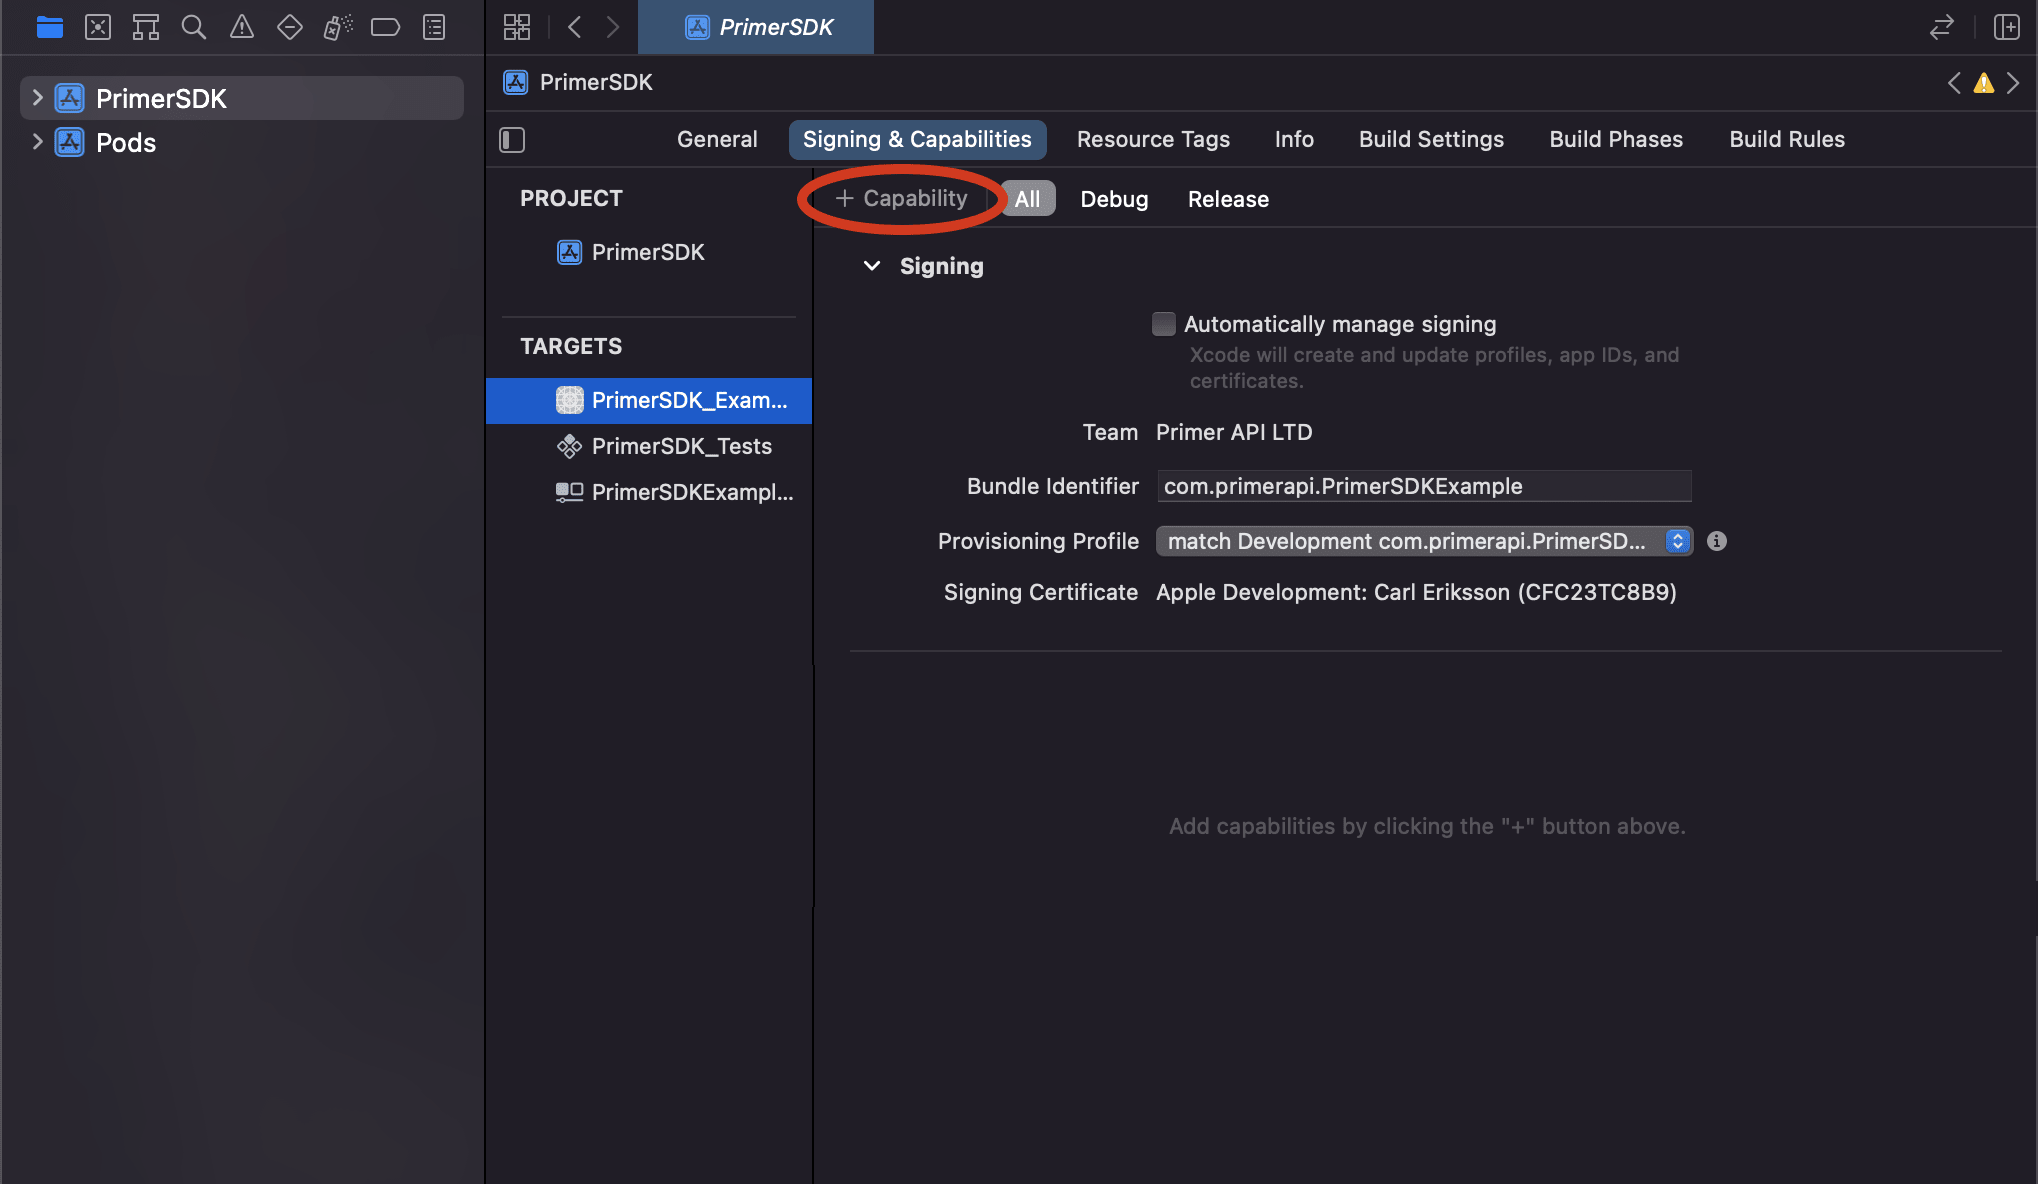
Step 1: Prepare Apple Pay settings- Select the Signing and Capabilities tab in your target’s settings.
- Tap the + Capability button on the top left, and select Apple Pay from the list.
SWIFT
Provided you have already created a client session, you can start the Headless integration with your client token, and the settings from Step 1.
First, check if Apple Pay is available:
SWIFT
SWIFT
- When used in the simulator, Apple Pay appears but fails to complete the flow. This is due to a limitation of Apple Pay that does not return the correct data when used in the simulator.
- Our current implementation of Apple Pay does not support the card networks
mir,girocard,bancomat, andbancontact.
Error Returned:
[unable-to-present-payment-method]This error occurs when you attempt to present Apple Pay but it’s not available for the current user/session.Root cause: Your app is showing the Apple Pay button without first checking if Apple Pay is included in availablePaymentMethods.Solution: Only render the Apple Pay button when it exists in the availablePaymentMethods array returned by the SDK:availablePaymentMethods list.Error Returned:
[unable-to-make-payments-on-provided-networks]- Make sure you have enabled the Apple Pay capability in Xcode

- Ensure your Apple Pay wallet contains at least one valid credit/debit card.
- The card network (e.g. Visa) of the active card is not supported. Payment networks supported vary on iOS version. Also not all test cards work on development environment.
- Your device has restrictions enabled (e.g. parental controls).
- The hardware of your device doesn’t support Apple Pay.
- Make sure you are not using a jailbroken device.
⭐ How to recover?
- Try on a different (real) device.
- Try with a different card (and also set it as the default wallet card).
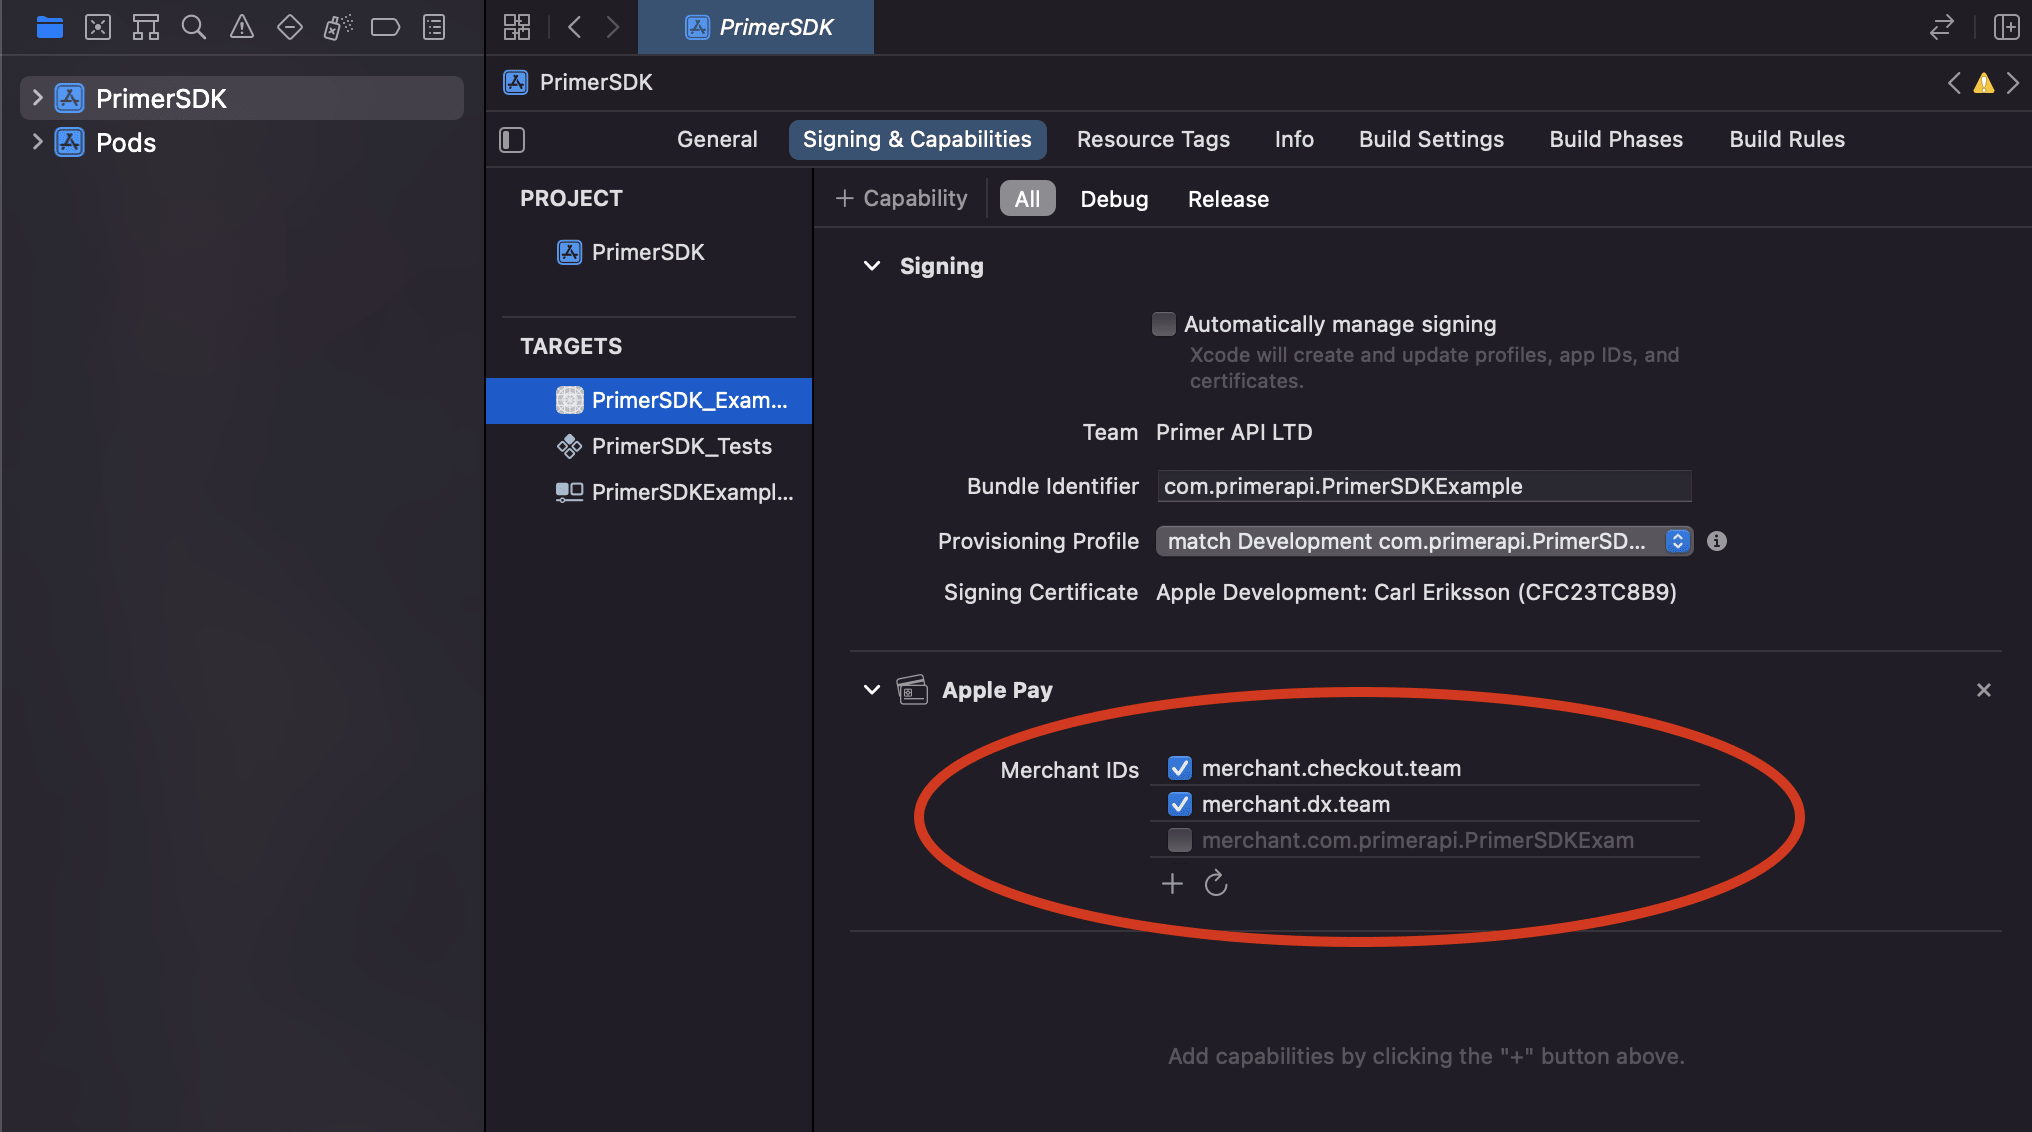
⭐ How to recover?Make sure that you have the correct merchant identifier selected in Xcode, as shown in the screenshot below.
- Is present in your Xcode’s merchant identifiers in the Apple Pay capability.
- Is used by a valid Apple Pay certificate in your Apple Portal
- The above mentioned Apple Pay certificate is uploaded in Primer’s dashboard
Error Returned:
[server-error] Server error [404]: No Matching ProcessingCertificate could be found
⭐ How to recover?Upload the correct Apple Pay certificate on Primer’s dashboard.
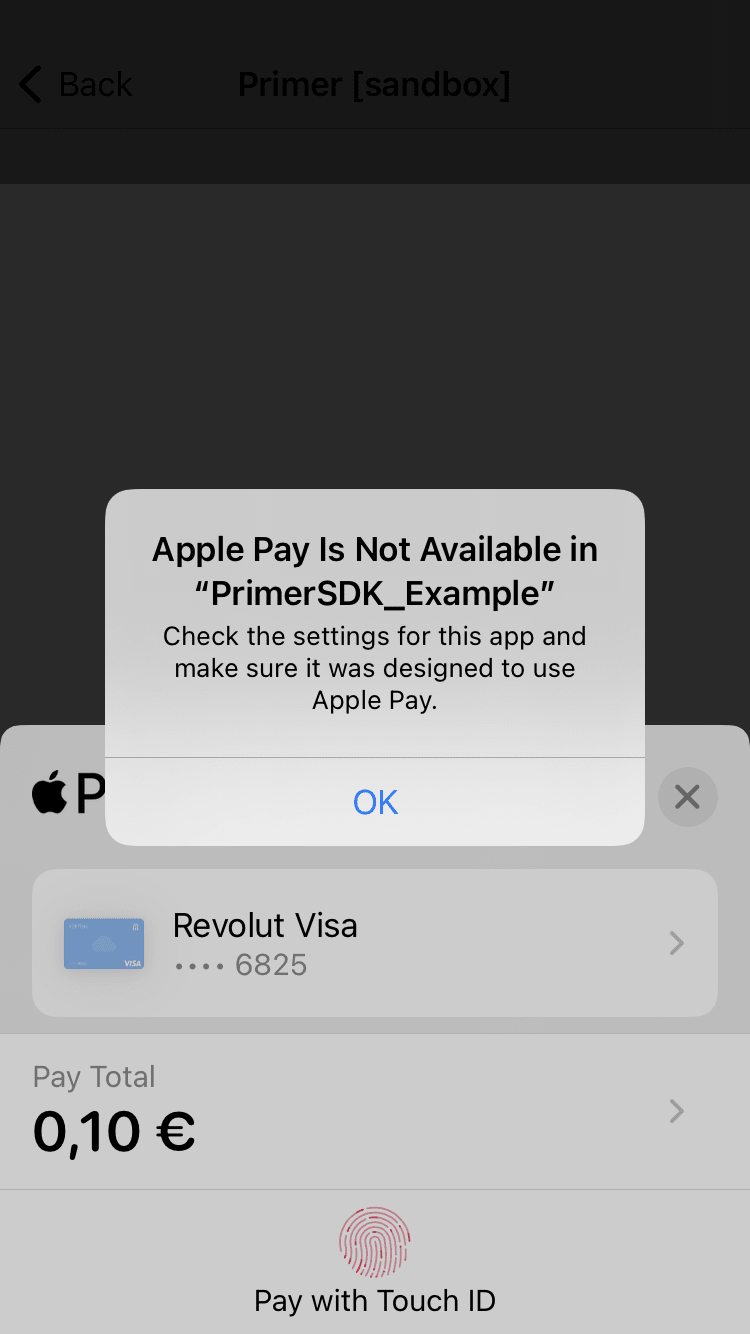
[payment-cancelled] Payment method APPLE_PAY cancelled or Behaviour: the Apple Pay view getting dismissed or not being presented.The merchant identifier that you’re passing to Primer SDK is not correct, and it isn’t present in Xcode’s capabilities, or you haven’t provided a merchant name.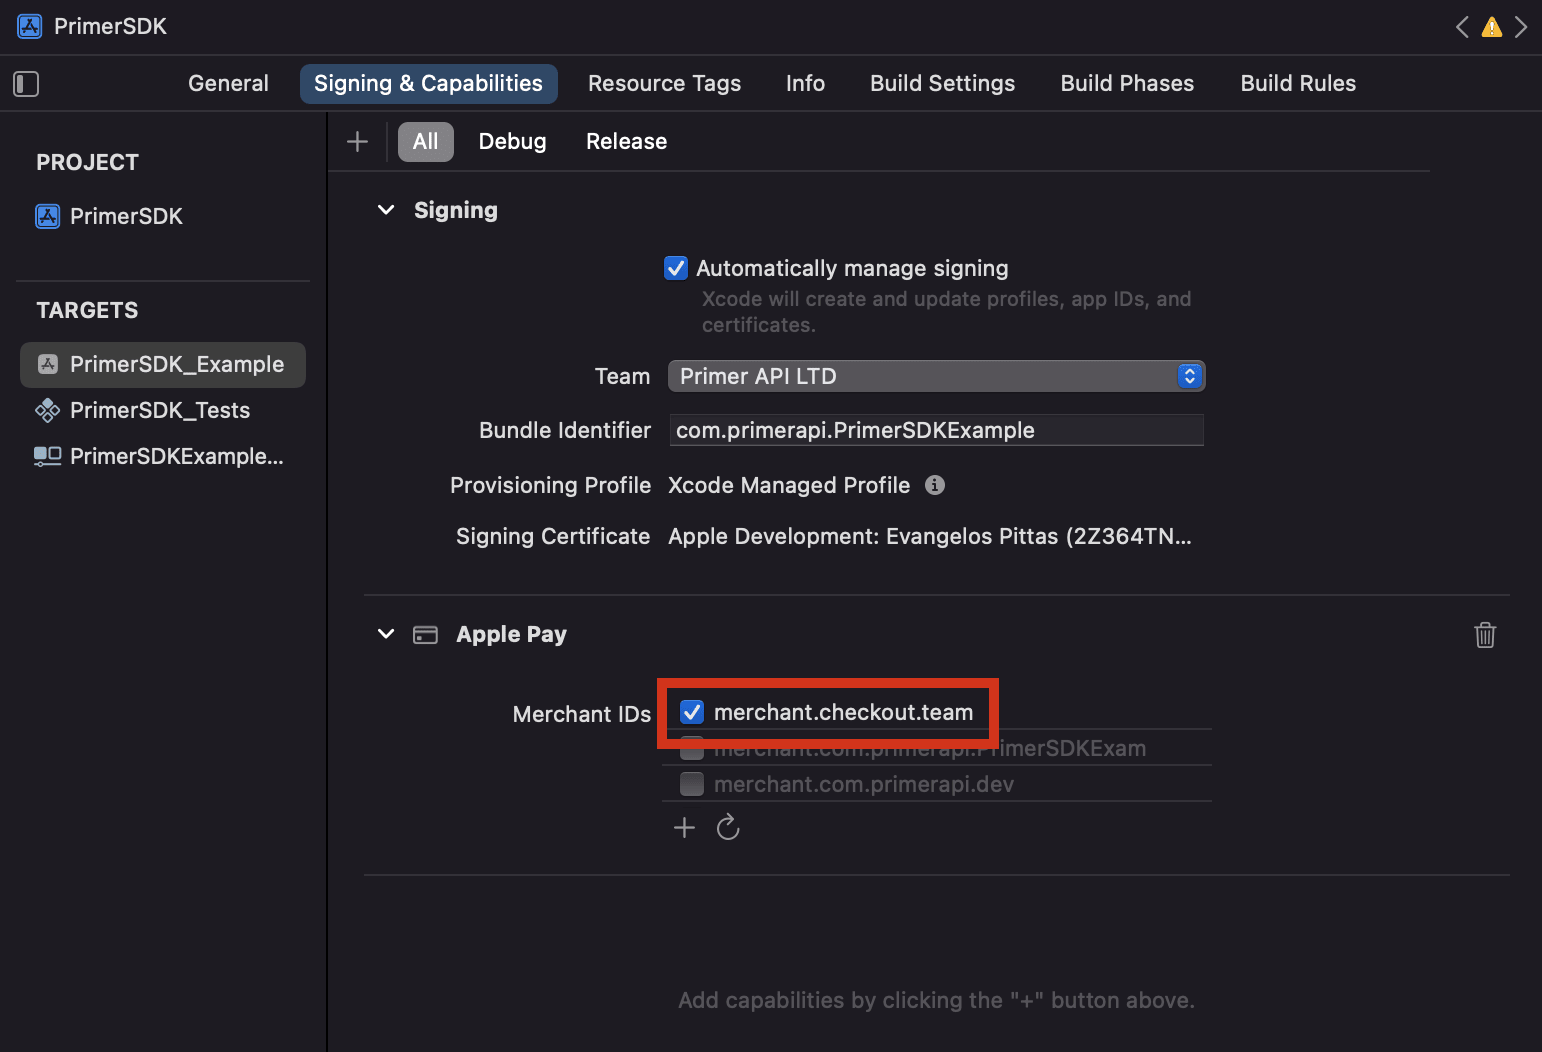
⭐ How to recover?Make sure that you have the correct merchant identifier selected in Xcode.
- Is present in your Xcode’s merchant identifiers in the Apple Pay capability.
- Is used by a valid Apple Pay certificate in your Apple Portal
- The above mentioned Apple Pay certificate is uploaded in Primer’s dashboard
Error Returned:
[NSErrorDomain:4864] the data couldn't be read because it is not in the correct format
⭐ How to recover?Attempt to complete a payment on a real device.