Google Pay is not available on iOS applications.
Get started with Google Pay
Before you begin
If this is your first payment method, make sure to follow the Get started guide to begin processing payments with Primer. All merchants must adhere to the Google Pay APIs Acceptable Use Policy and accept the terms defined in the Google Pay API Terms of Service.Configure in the Dashboard
-
Add a card processor to your Dashboard
Go to the Connections section of the Dashboard and look for a card processor such as Stripe, Adyen, Braintree, and many others.
Follow the instructions to connect the processor account to your Primer Dashboard. -
Add Google Pay to your Dashboard
Go to the Connections section of the Dashboard and look for Google Pay.
Follow the instructions to connect your Google Pay processor account to your Primer Dashboard. -
Activate Google Pay on the Checkout
Go to the Checkout section of the Dashboard and activate the Google Pay payment method. -
Configure a Workflow to process payments with Google Pay
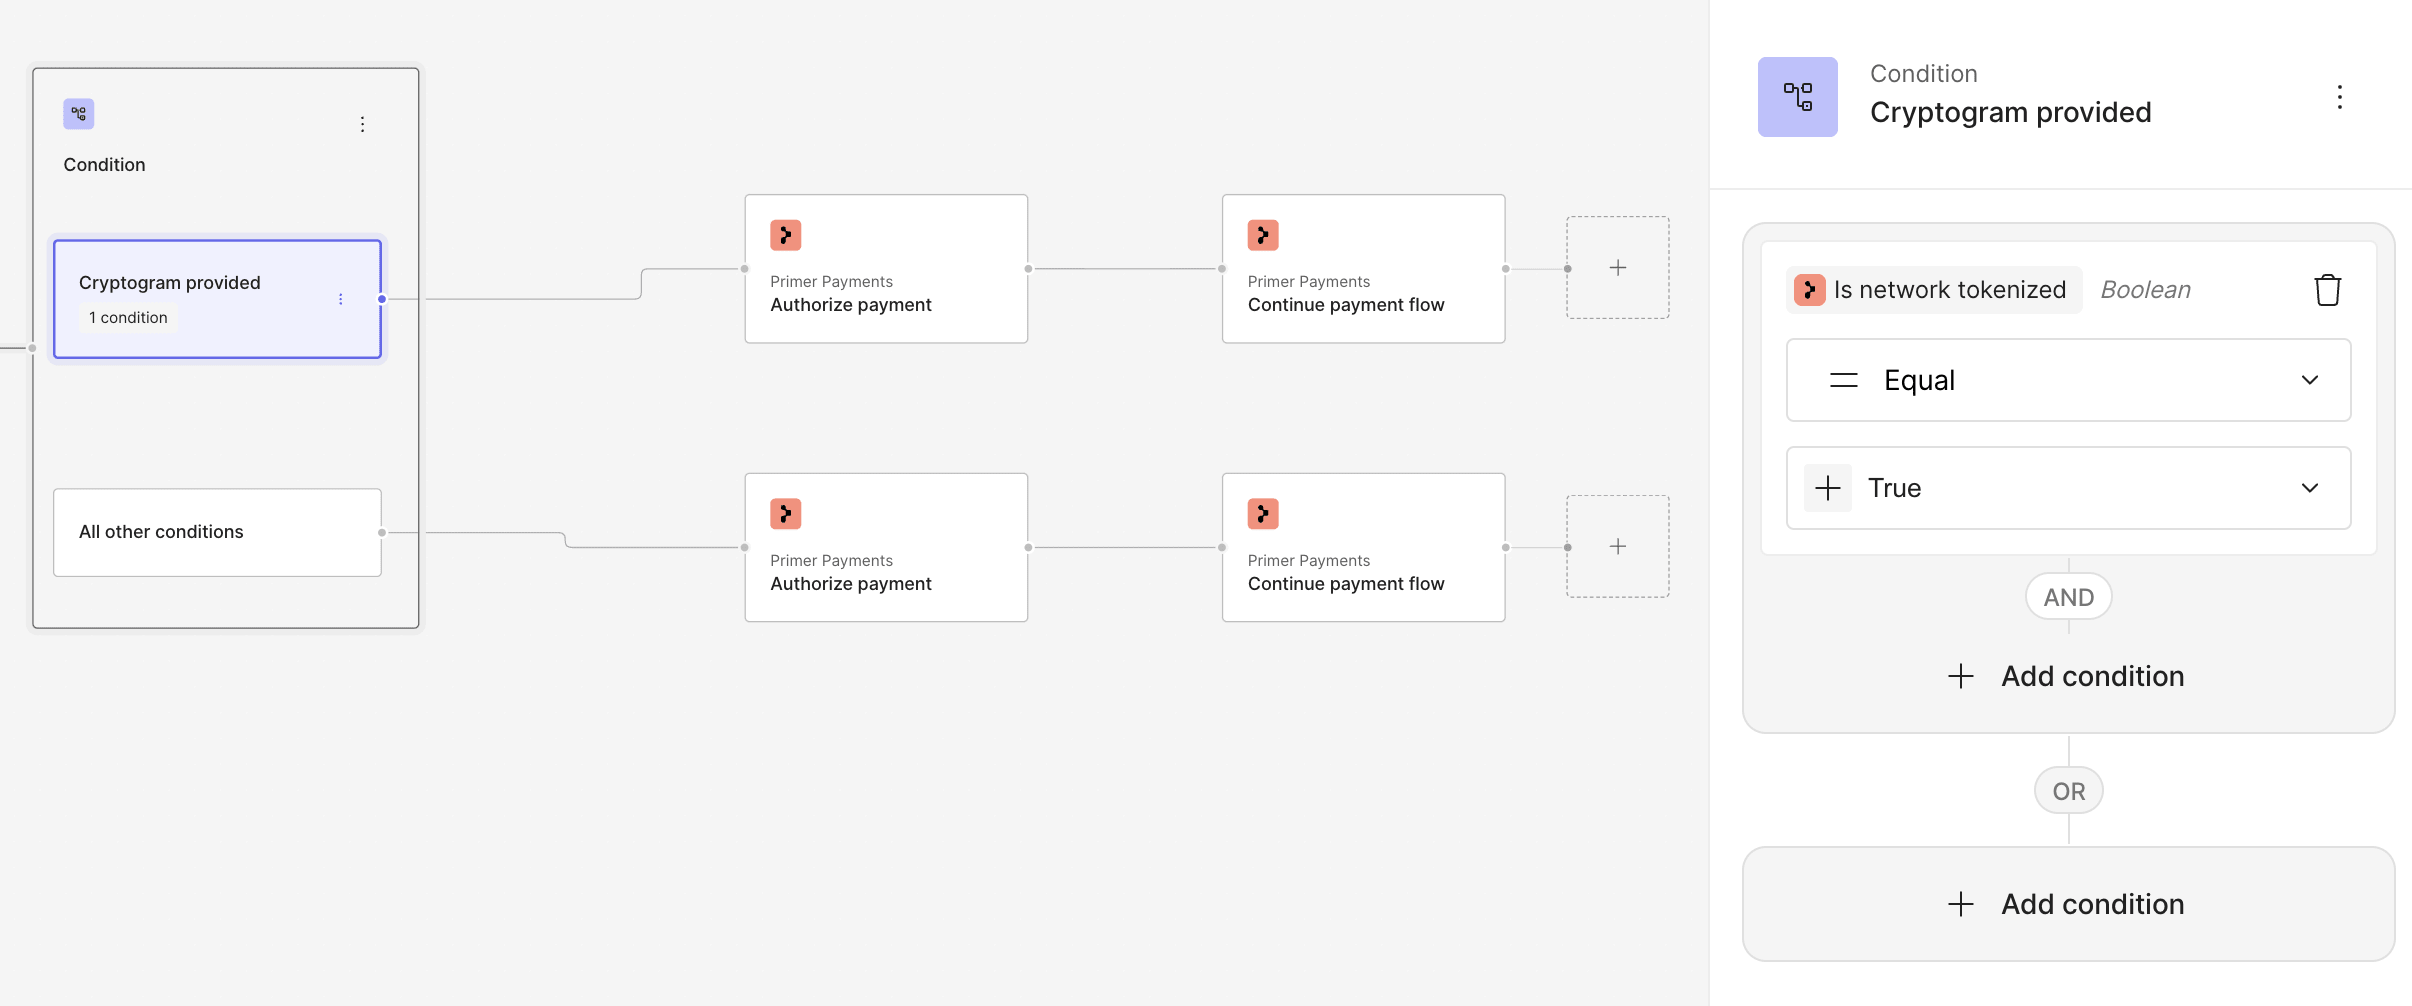
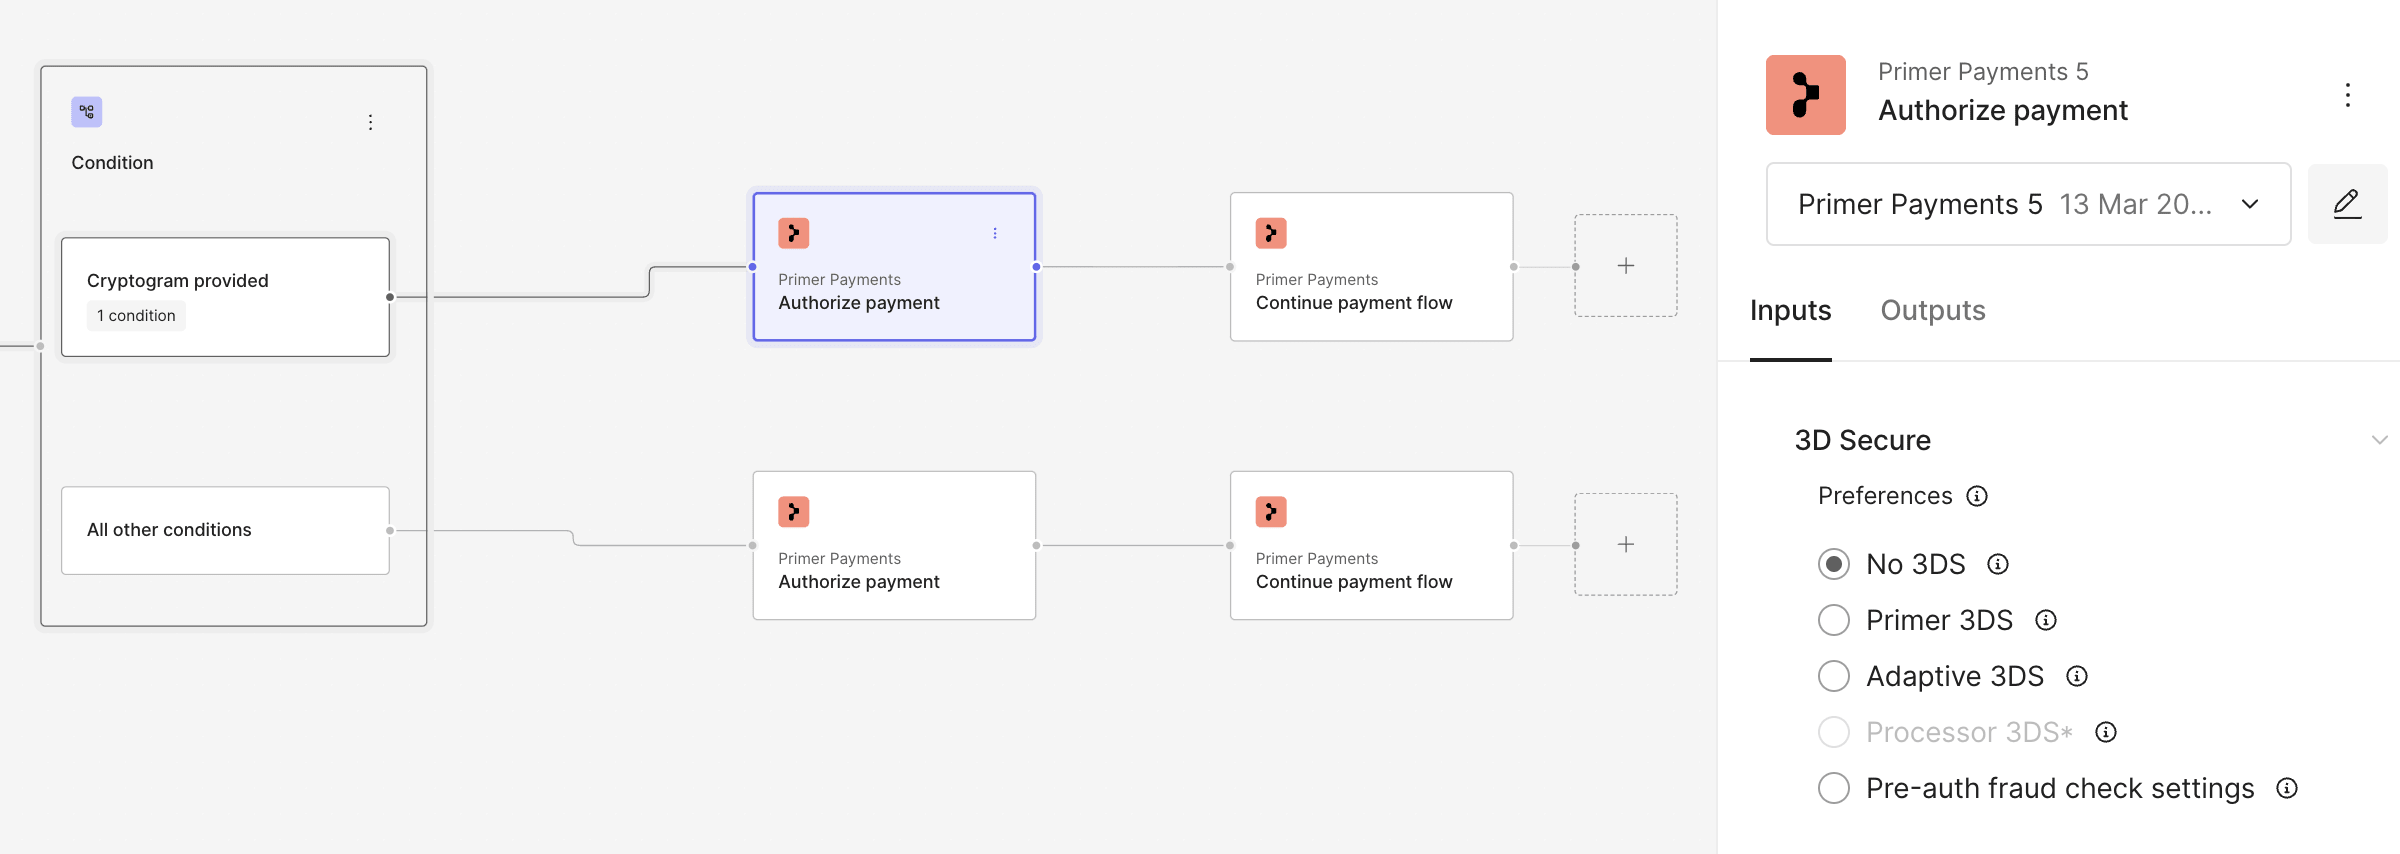
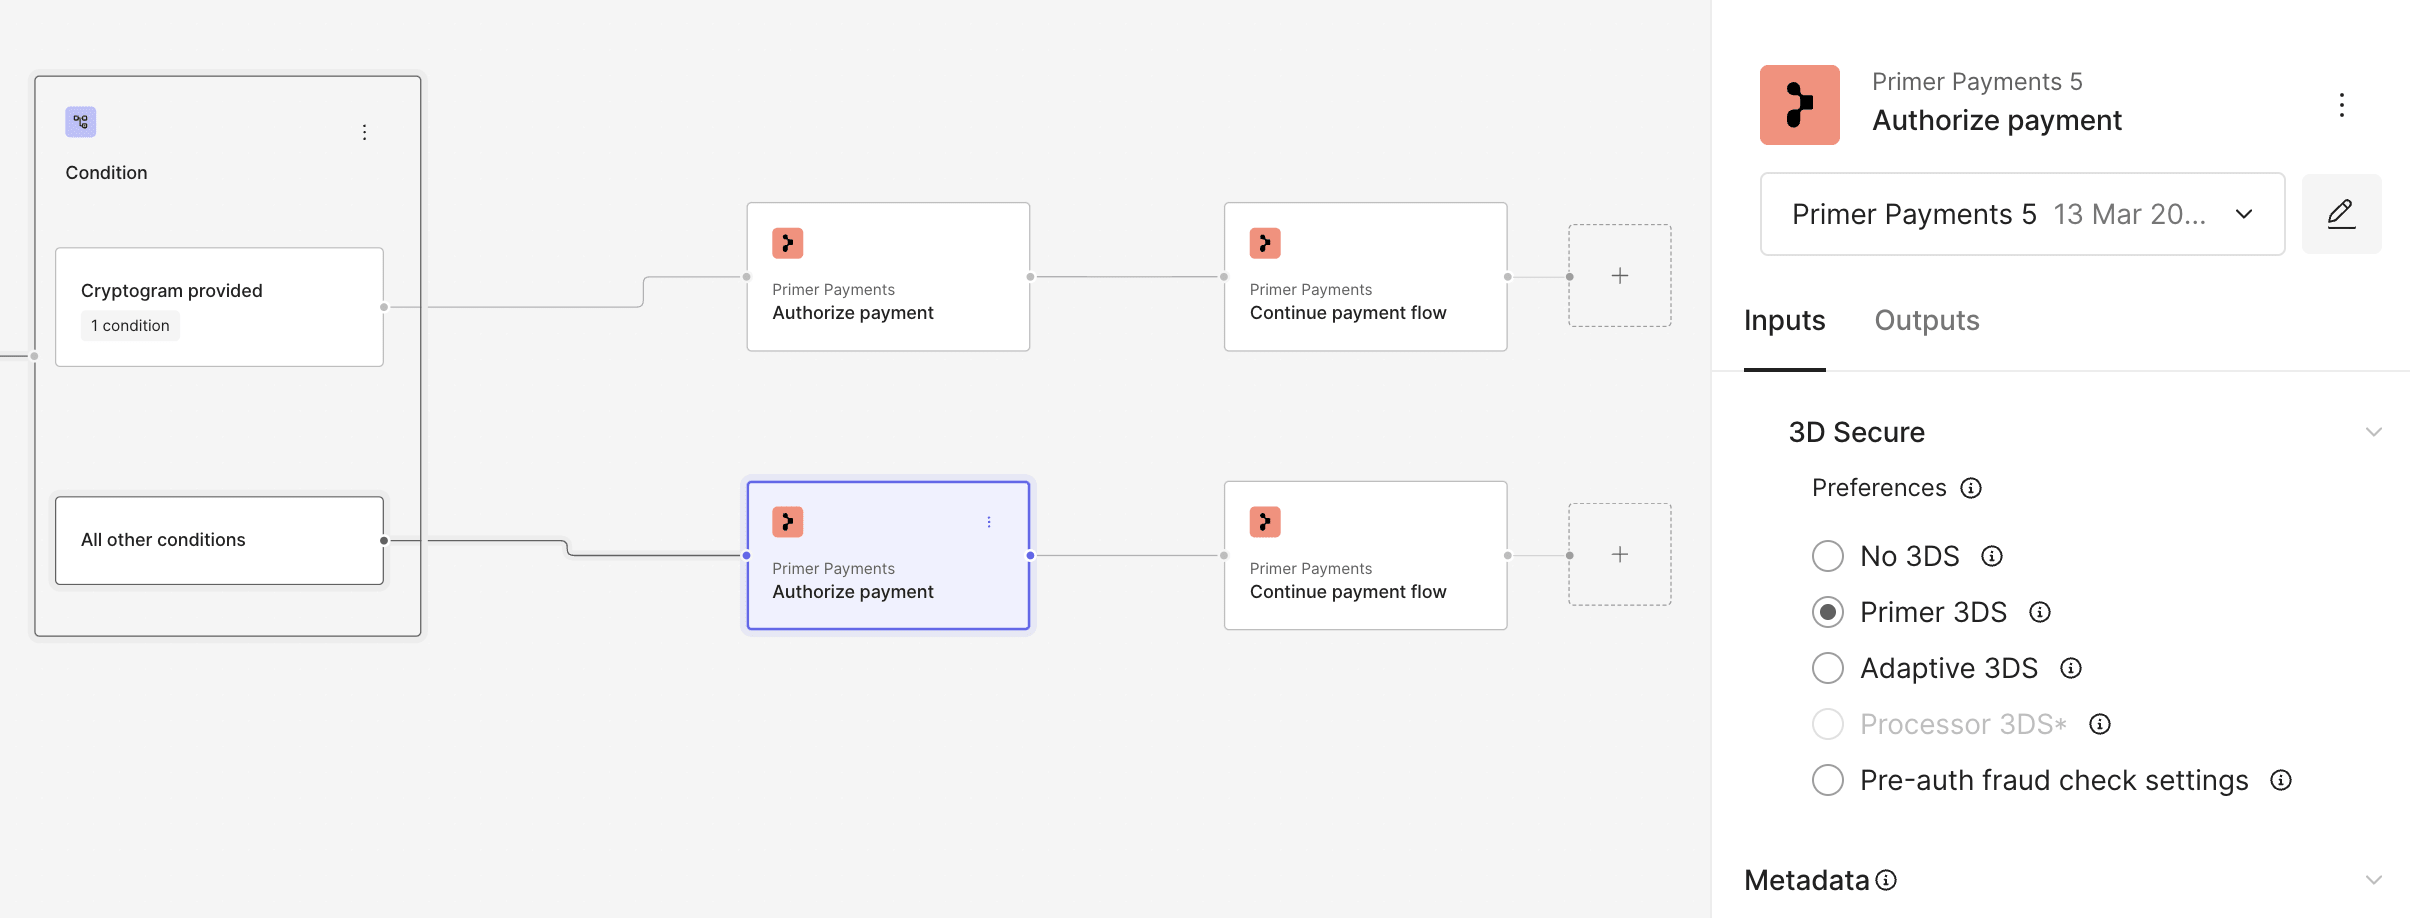
Go to the Workflow section and make sure one of your card processors is used to process Google Pay payments.


Prepare the client session
Google Pay leverages the following parameters to process a payment. Pass them when creating the client session.| Parameter Name | Required | Description |
|---|---|---|
| currencyCode | ✓ | 3-letter currency code in ISO 4217 format, e.g. USD for US dollars |
| order ↳ lineItems | Details of the line items of the order | |
| order ↳ countryCode | The country in which the order is created |