

Everything you need
to build with Primer
Learn how to connect, build, and scale with Primer. Our docs offer clear guides and technical references to help you get more from our unified payments infrastructure.
Get Started
Your first stop - everything you need to start building with Primer.

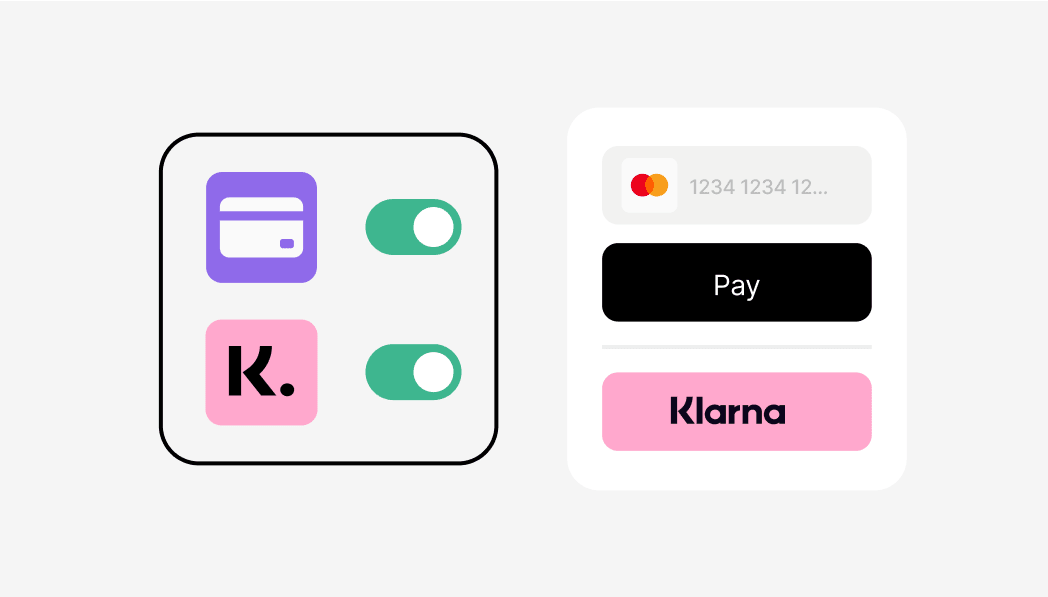
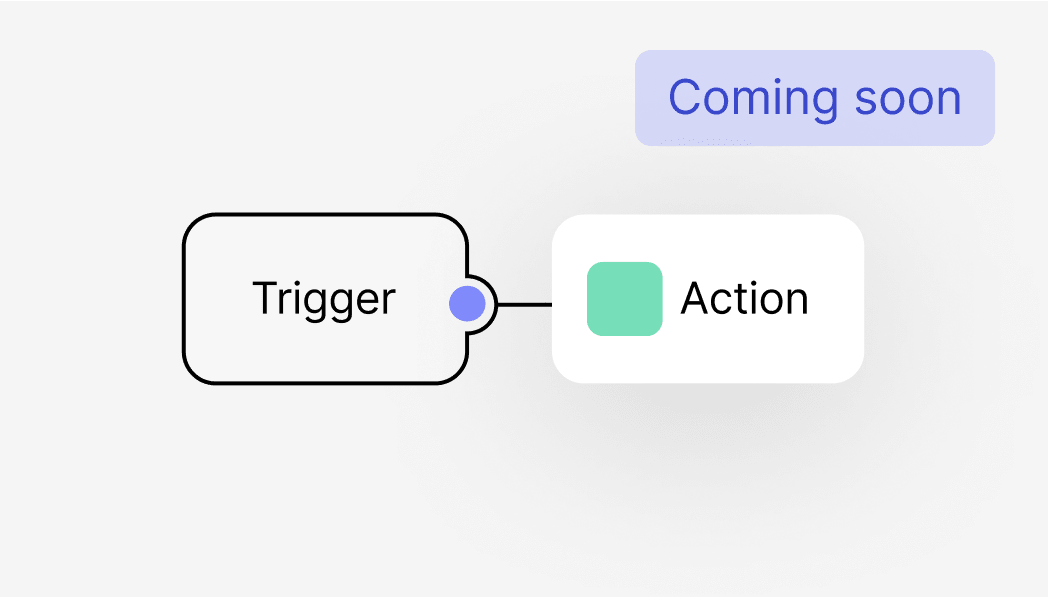
Connections
Plug into your favorite tools and start building powerful flows.

Changelogs
See what’s new, what’s better, and what’s coming next.

API Reference
All the endpoints and payloads you need to build with Primer.
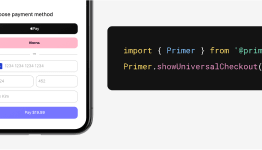
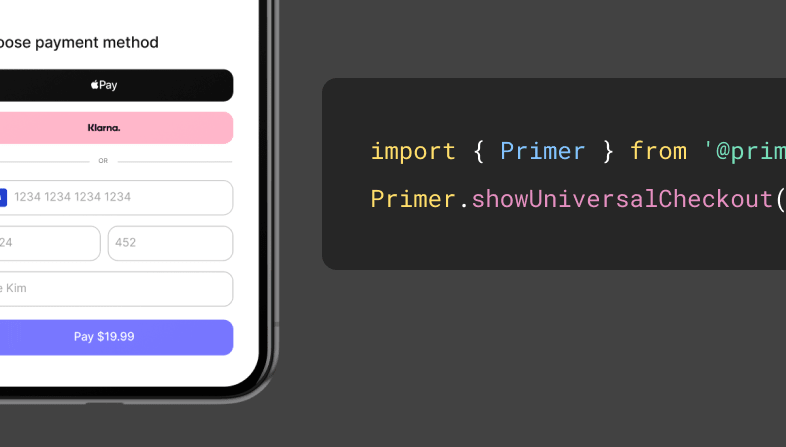
SDK Reference
Add our Checkout SDKs and bring your integration to life with just a few lines of code.
Knowledge base
Got questions? Find answers, practical tips, and how-tos.
Get Started
Your first stop - everything you need to start building with Primer.
Connections
Plug into your favorite tools and start building powerful flows.

Changelogs
See what’s new, what’s better, and what’s coming next.

API Reference
All the endpoints and payloads you need to build with Primer.
SDK Reference
Add our Checkout SDKs and bring your integration to life with just a few lines of code.
Knowledge base
Got questions? Find answers, practical tips, and how-tos.