Payments
Consolidate your payment stack and create great payment experiences.
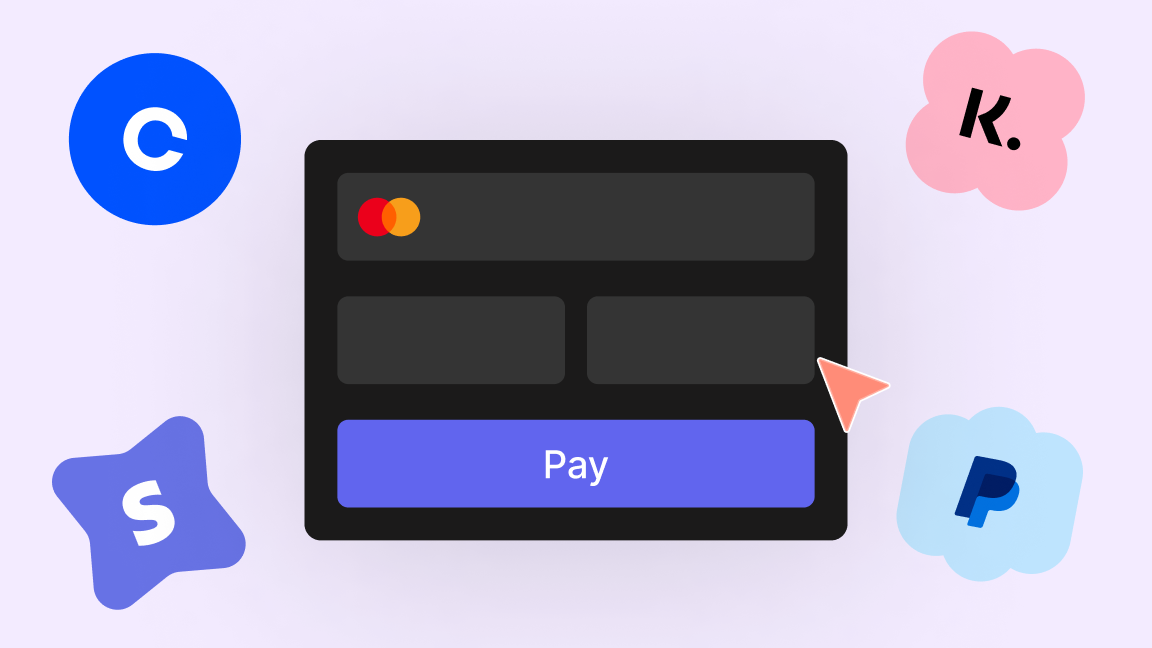
Process payments
Primer brings together all your preferred payment services in a single, easy-to-implement integration.
Build the way you want
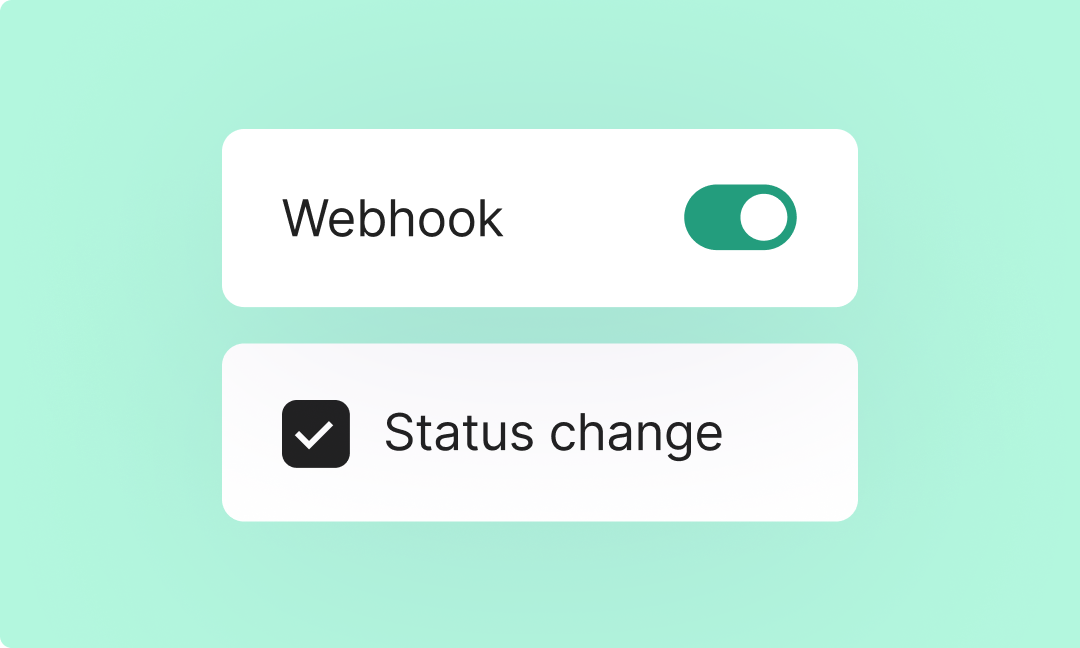
Receive payment notifications
Primer Payment supports server notifications via webhooks to give you visibility on the status of your payments.